Weds 15 Oct 2014
So, after the base coat of plaster goes onto the bales, we are left with the wood frame 12cm proud of the walls. To achieve a nice half-timbered finish, we had to come up with a way of filling the wall sections to bring the final plaster coat flush with the front of the timber. After some trial and error, I came up with a way of part-lathing each section, and then fixing long-straw twists (incorporating a little plaster) in behind the laths. This could then be finished with chopped straw filler to create a level surface for a final skim. A lot of work, but relatively cheap materials which retained the integrity of the original straw/lime concept.
I set Paris off on this technique, and she rapidly made it her own: creating beautifully neat, well-behaved twists in ordered rows.
First, grab a handful of long straw, rubbed with a light coating of lime plaster
Form into a 'corn dolly' shape, folded in at each end
Stuff behind laths placed at approx 12-15 cm intervals, and make level with chopped-straw in plaster filler as shown in lower third above. The plastic bag is protecting electric fittings where a back box has been screwed to a vertical baton.
Rowan, meanwhile, has been in his workshop making door and window frames, and has shown up to construct the music room external door.
Paris in action
Leaving the long-straw stuffing to the experts, I got on with lathing the internal wall (no bales on this one).
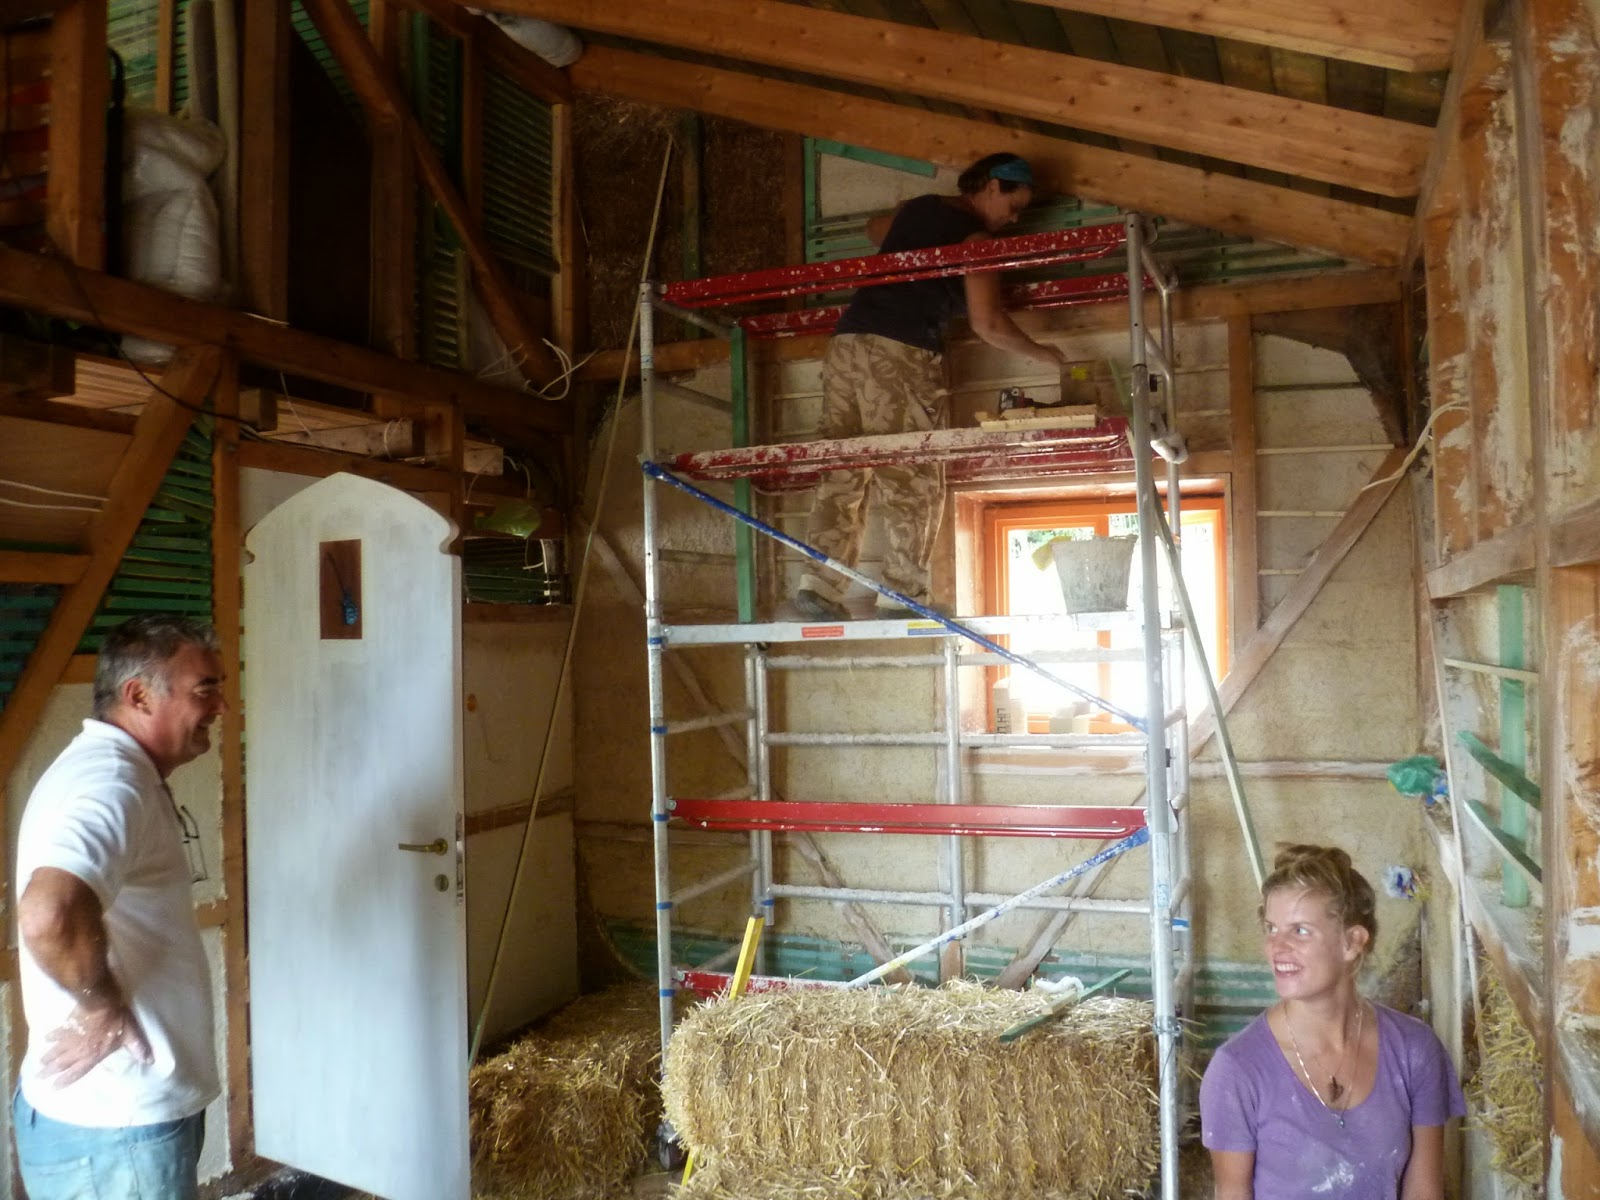
And then climbed the scaffolding to lath, then plaster, the top diagonal spaces - too high for stuffing, laths are quicker (if more expensive). What are those two laughing about behind my back?
We decided this section was the ultimate in dolly-stuffing. Beautiful neat rows - how does she do it? Definitely required an artist with artwork photo.
No comments:
Post a Comment